
Connecting Airtable as a content source: a step-by-step guide
Why your content calendar is probably already in Airtable
Most marketing teams don't plan content inside their social publishing tool. They plan it in Airtable, because Airtable is where the calendar, the copy drafts, the asset library, and the approval status already live. The publishing tool is just where the finished post ends up on its way out the door.
That split is normal and it's fine, right up until someone has to manually copy captions and media out of one system and paste them into another, record by record, week after week. For an agency running several client accounts, or a business with a content team that's already built a whole workflow around a base, that manual bridge is where hours disappear and where mistakes creep in: a caption pasted into the wrong account, a piece of media that never made the jump at all.
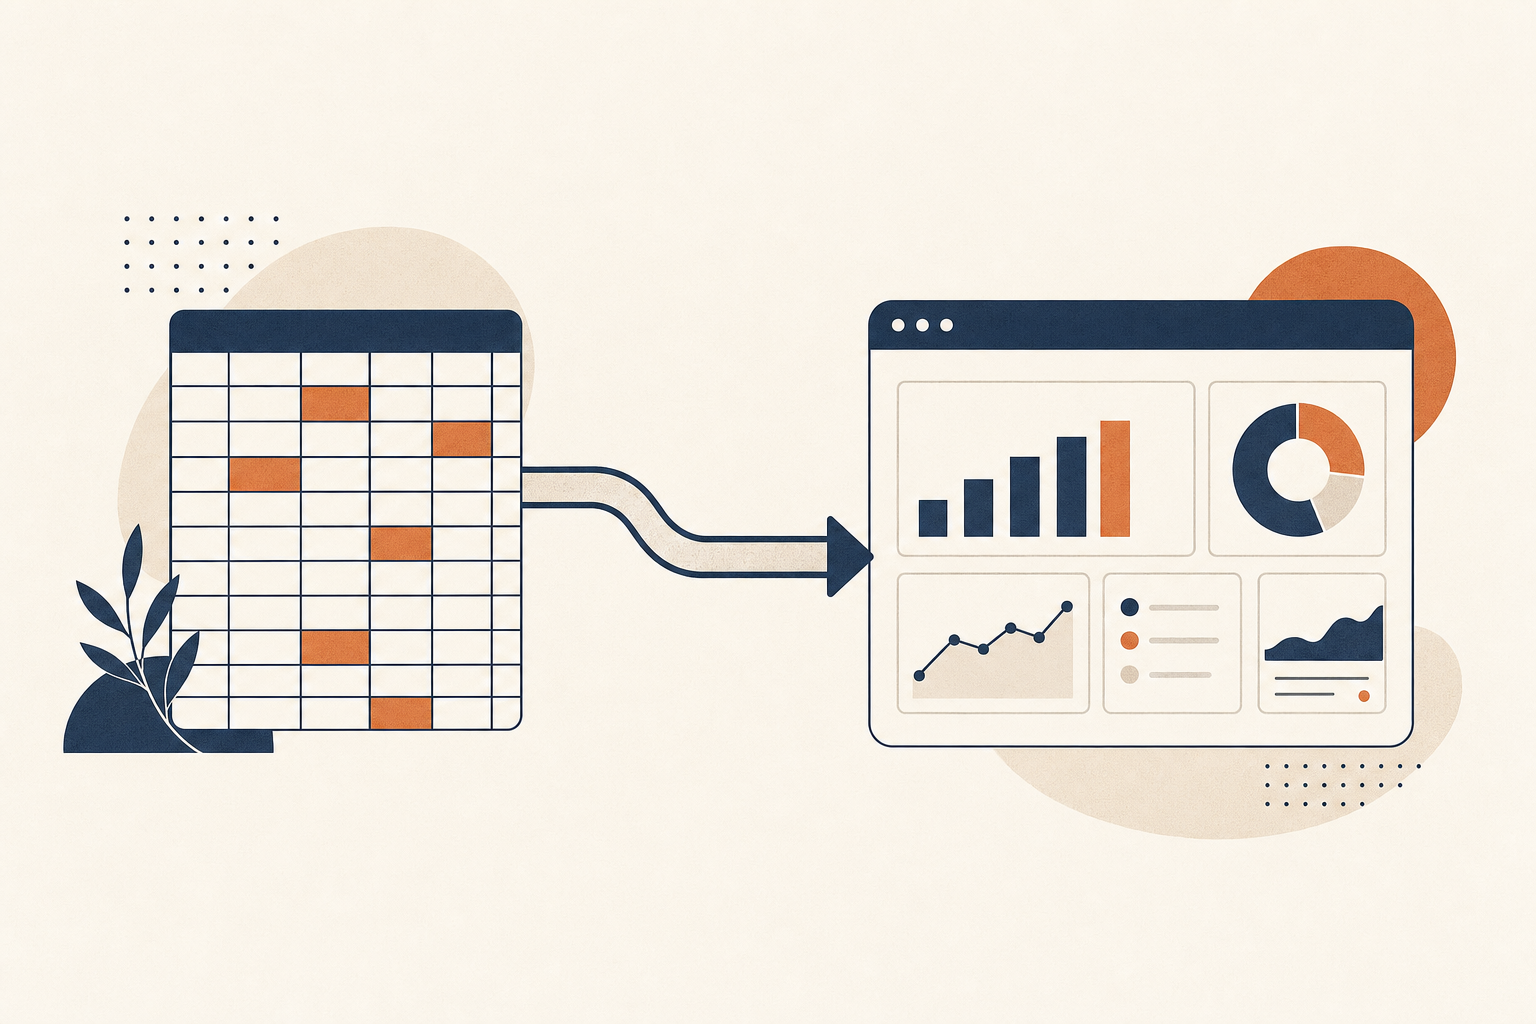
Connecting Airtable as a content source removes that bridge. Records built somewhere else flow directly into the publishing tool, get mapped to the right fields, and route to the right accounts without anyone retyping a single caption. Here's how to set it up properly, from the first connection through to keeping it clean months later.
Step 1: connect the base with OAuth
Start from the workspace's content sources settings and choose to add an Airtable source. This kicks off an OAuth connection to your Airtable account, the same kind of permission grant you'd give any third-party app: you're not handing over a password, you're authorizing a scoped connection that can read the bases you choose.
You can connect more than one base to a single workspace. That matters a lot for agencies in particular, where each client often already has their own separate Airtable base with their own content calendar, and there's no reason to force them all into one shared structure just to make the publishing side easier. Connect base A for client A, base B for client B, and keep each one's records distinct on the way in.
Once the connection is authorized, the tool can see the tables inside that base. Nothing gets pulled in automatically yet. The next step is telling the tool what each field actually means.
One thing worth deciding upfront: which table in the base you're connecting. A lot of content calendars live inside a base with several tables, maybe one for approved posts, one for drafts still being written, one for an asset library that isn't tied to any specific post yet. Point the connection at the table that holds finished, ready-to-import records, not the drafts table. Connecting the wrong table just means the gallery in step 3 fills up with half-written copy nobody meant to import yet.
Step 2: map your fields
Field mapping is where you tell the system which Airtable column is the caption, which one holds the media, and which one carries the tag or category. Most content calendars already have something close to this structure without anyone intending it that way: a text field for the copy, an attachment field for images or video, and a single-select or multi-select field for whatever category or client the row belongs to.
The mapping step matches those existing columns to what the publishing tool expects. If your base calls the caption field "Post Copy" instead of "Caption," that's fine, you point the mapping at "Post Copy" and the tool treats it the same way. This is a one-time setup per base, not something you redo for every record.
Get the mapping right once and every future record that lands in that base, as long as it follows the same table structure, comes through correctly without any extra configuration. Get it wrong and you'll find out the hard way, usually when a caption field mapped to the wrong column shows up blank in the gallery.
Media fields deserve a second look during mapping. Airtable attachment fields can hold multiple files per row, and it's worth deciding early whether a single record maps to a single image or video, or whether you want the tool to treat multiple attachments on one row as a carousel. Get this settled at the mapping stage instead of discovering it mid-import, when 15 records suddenly behave differently than you expected because the base wasn't consistent about how many attachments each row carried.
Step 3: browse before you import
Once the source is mapped, records show up in a visual gallery inside the tool, not as a raw table dump. You can see the media, read the caption, check the tag, before anything actually gets pulled into a real post or scheduled anywhere.
This step exists for a reason: importing straight from a spreadsheet with no preview is how a half-finished caption or a placeholder image ends up scheduled to go live. Browsing the gallery first gives you a chance to catch that before it becomes a problem instead of after.
For a content team handing off finished work to whoever runs the social accounts, the gallery also works as a natural checkpoint. The content team builds and fills the base. The person running publishing reviews the gallery, picks what's ready, and imports it. Nobody has to trust that everything in the base is automatically postable just because it exists there.
The gallery view is also just a faster way to spot a strong record among a big batch. Scrolling a table of rows, most people skim the caption column and skip the image entirely, because a spreadsheet isn't built to show media at a glance. A gallery flips that: the media is the first thing you see, the caption is secondary, and that's usually the right order for judging whether something's actually ready to go out.
Step 4: bulk import a batch
Instead of pulling records one at a time, you can select a batch and import all of them together. For a base with 20 or 30 records queued up for the month, this is the difference between an afternoon of clicking and a couple of minutes.
Bulk import respects whatever field mapping and tag resolution you've already set up, so a batch of 25 records comes in exactly the same way a single record would, just all at once. Each one still carries its own caption, its own media, its own tag, resolved individually even though you're importing the whole group in one action.
This is where the earlier setup work pays off. If the mapping is right and the tags resolve cleanly, importing 30 records takes about as long as importing 3. If something's off in the mapping, bulk importing just means you find the mistake 30 times instead of once, so it's worth trusting the gallery preview from step 3 before you commit to a large batch.
Step 5: let usage tracking stop accidental repeats
A shared Airtable base, especially one multiple people can touch, is an easy place for the same record to get imported twice by 2 different people who didn't know the other had already handled it. Usage tracking exists specifically for this.
Once a record has been imported and used, the tool keeps a record of that, so a second import attempt doesn't treat it as fresh content again. The record itself stays fully editable in Airtable. The publishing side just knows this specific piece has already gone out, so nobody accidentally reposts the same caption and image to the same audience a second time next week.
For a busy base with a lot of hands in it, this one feature prevents a specific kind of embarrassing mistake: the same promotion appearing twice within a short window because 2 people both thought they were the one handling this week's import.
Step 6: understand tag resolution on import
This is the part that saves the most manual work over time. Every record in your Airtable base likely has some kind of category or tag field already, maybe "Client," maybe "Niche," maybe "Location." On import, that field gets matched against the tool's own tags, by name or by alias, and the record gets routed to whichever accounts share that tag automatically.
Say your Airtable base tags a row "Barbershop" and your publishing workspace has a tag called "Barbershop" already applied to the right accounts. That match happens on its own. No manual re-tagging, no dragging the record into a folder, no remembering which accounts belong to which client.
Aliases matter here too. If your Airtable field says "Hair & Grooming" but your workspace tag is "Barbershop," you can set that as an alias so the match still happens correctly instead of failing with no explanation because the exact text didn't line up. This is worth doing early, before you've imported a hundred records that all needed the same fix.
Tag resolution is also what makes the earlier tag-based system (the one that also drives which accounts a post reaches and what audience a boosted post inherits) work consistently whether content originated inside the tool or came in through Airtable. The routing logic doesn't care where the record started.
It's worth pulling up the list of resolved tags after your first real import and checking every one against the accounts you expected it to hit. A mismatch here is easy to fix once, in the alias settings, and expensive to fix later once a few weeks of records have already gone out under the wrong mapping.
Running multiple bases for multiple clients
For an agency, the real value shows up once you're running this across several clients at once, each with their own base, their own tags, their own content team filling the calendar. One workspace can hold all of it: base A maps to client A's accounts through client A's tags, base B maps to client B's accounts through client B's tags, and none of it crosses over by accident because the tag resolution keeps each client's content routed to only their own accounts.
This is also where naming discipline earns its keep. If 2 different client bases both use a generic tag like "Promo" without any client-specific prefix, and both happen to alias to the same workspace tag, you've created a real risk of one client's content routing to another client's accounts. Keeping tag names specific per client, even if it feels redundant inside a single base, avoids a mistake that would be genuinely bad to explain to a client afterward.
There's an onboarding upside here too. When a new client comes on board with their own content calendar already built out in Airtable, connecting that base directly means you're not asking them to rebuild months of planning inside a new tool, or asking your own team to re-key everything by hand before the first post can go out. You connect their base, map the fields once, set up the tag aliases for their niche and locations, and their existing workflow becomes usable on day one instead of week 3.
Keeping the Airtable side clean over time
The mapping and tag resolution you set up in week 1 only stays reliable if the Airtable side doesn't drift. A field that gets renamed 6 months later, a new tag added to the base that was never given a matching alias, a team member who starts using a category field inconsistently: any of these can break the automatic routing without triggering an obvious error.
The practical habit worth building is a quick monthly check: open the gallery, scan a handful of recently imported records, and confirm the tags resolved the way you expected. It takes a few minutes and it catches drift long before it turns into a misrouted post or a client asking why their weekly content didn't go out.
Treat the Airtable base the same way you'd treat any shared source of truth: name fields consistently, keep the tag or category field to a small, deliberate list rather than letting it grow ad hoc, and document the mapping somewhere the whole content team can see it. The connection does the mechanical work. Keeping the base itself tidy is what keeps that mechanical work trustworthy.